Showing posts with label Savoury. Show all posts
Thursday, May 13, 2010
Pretzels
Since summer is right around the corner, and my boyfriend just LOVES these things, I thought I'd try my hand at baking some pretzels. My friend Kate kept telling me that Alton Brown’s recipe was so simple and so easy that I just HAD to make them. So, a couple months later I finally gave in and made these bad boys.
I don’t think I can stress enough how easy making these were! Seriously, everything happened so fast. One minute I was making the dough, then the next minute I was devouring a delicious, warm, salty pretzel. Now this might sound weird to you, but I’ve always thought soft pretzels have a very distinct taste to them, and for some reason I never could figure it out. Until I made them at home. The specific flavor soft pretzels have come from their dip in the baking soda jacuzzi.
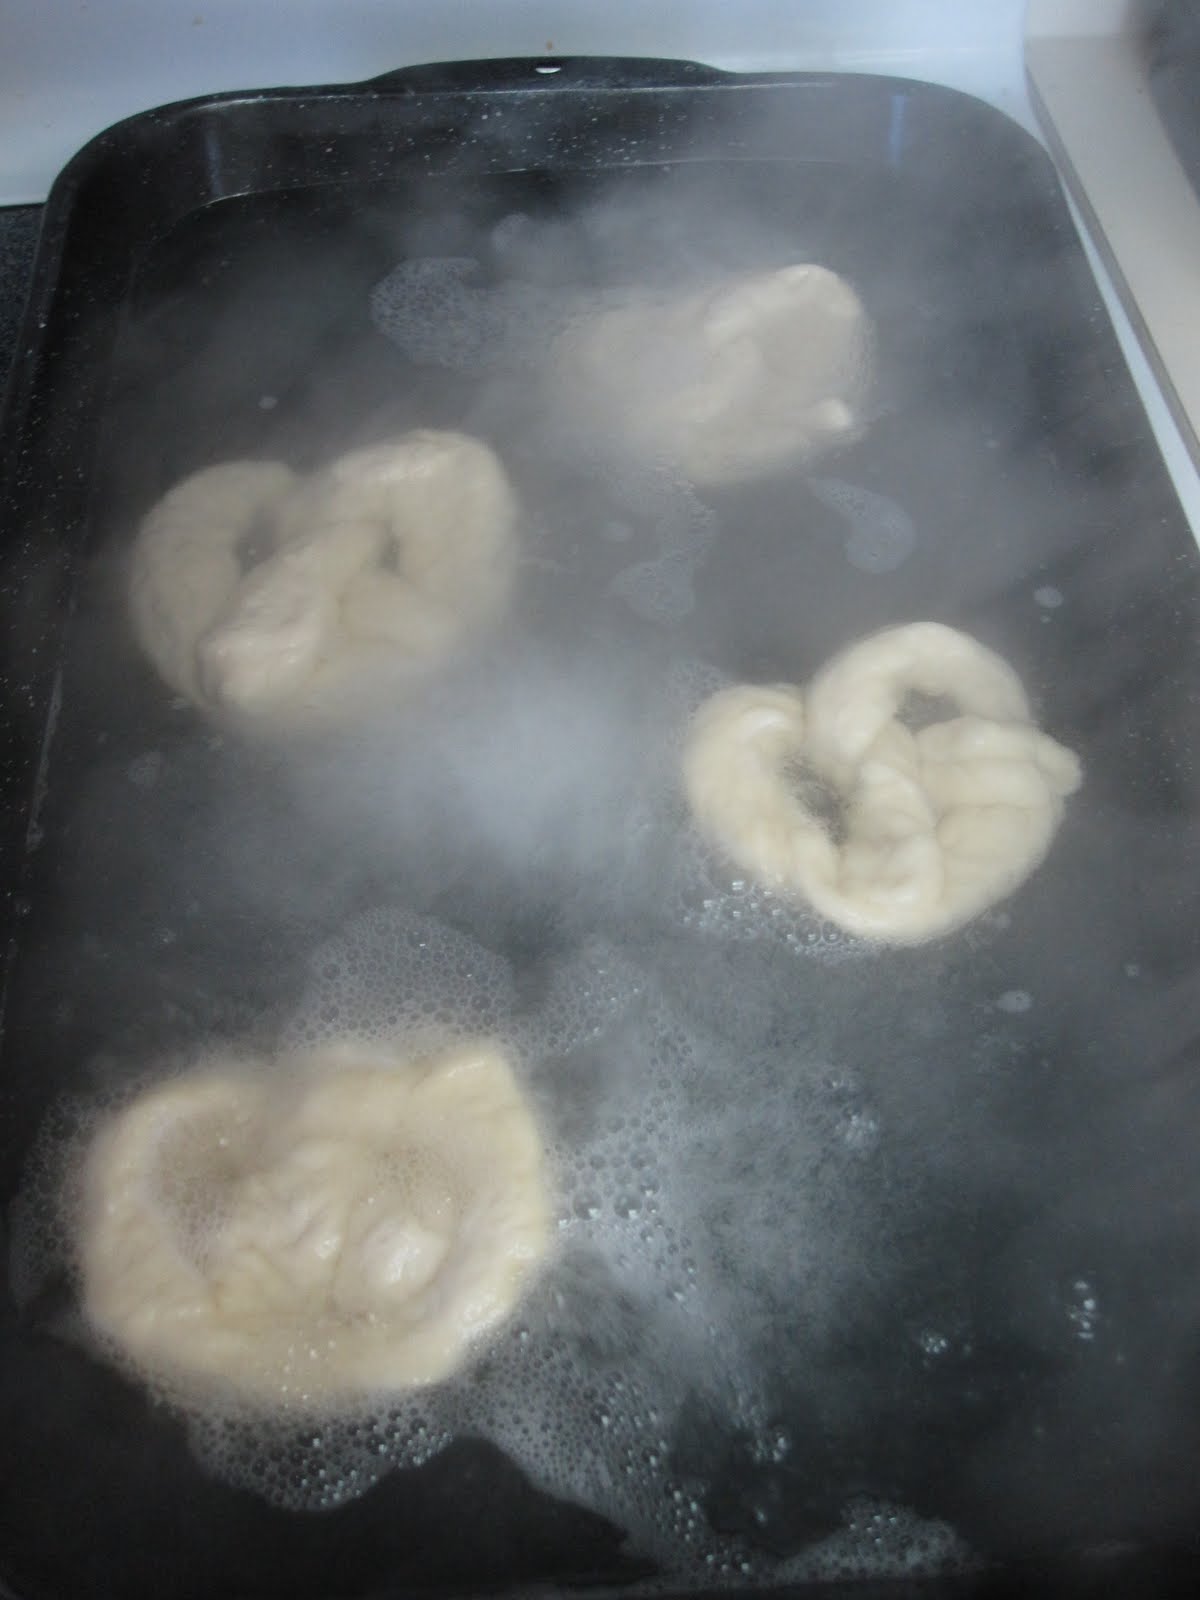
Intense. I swear it’s a hot tub for pretzels.
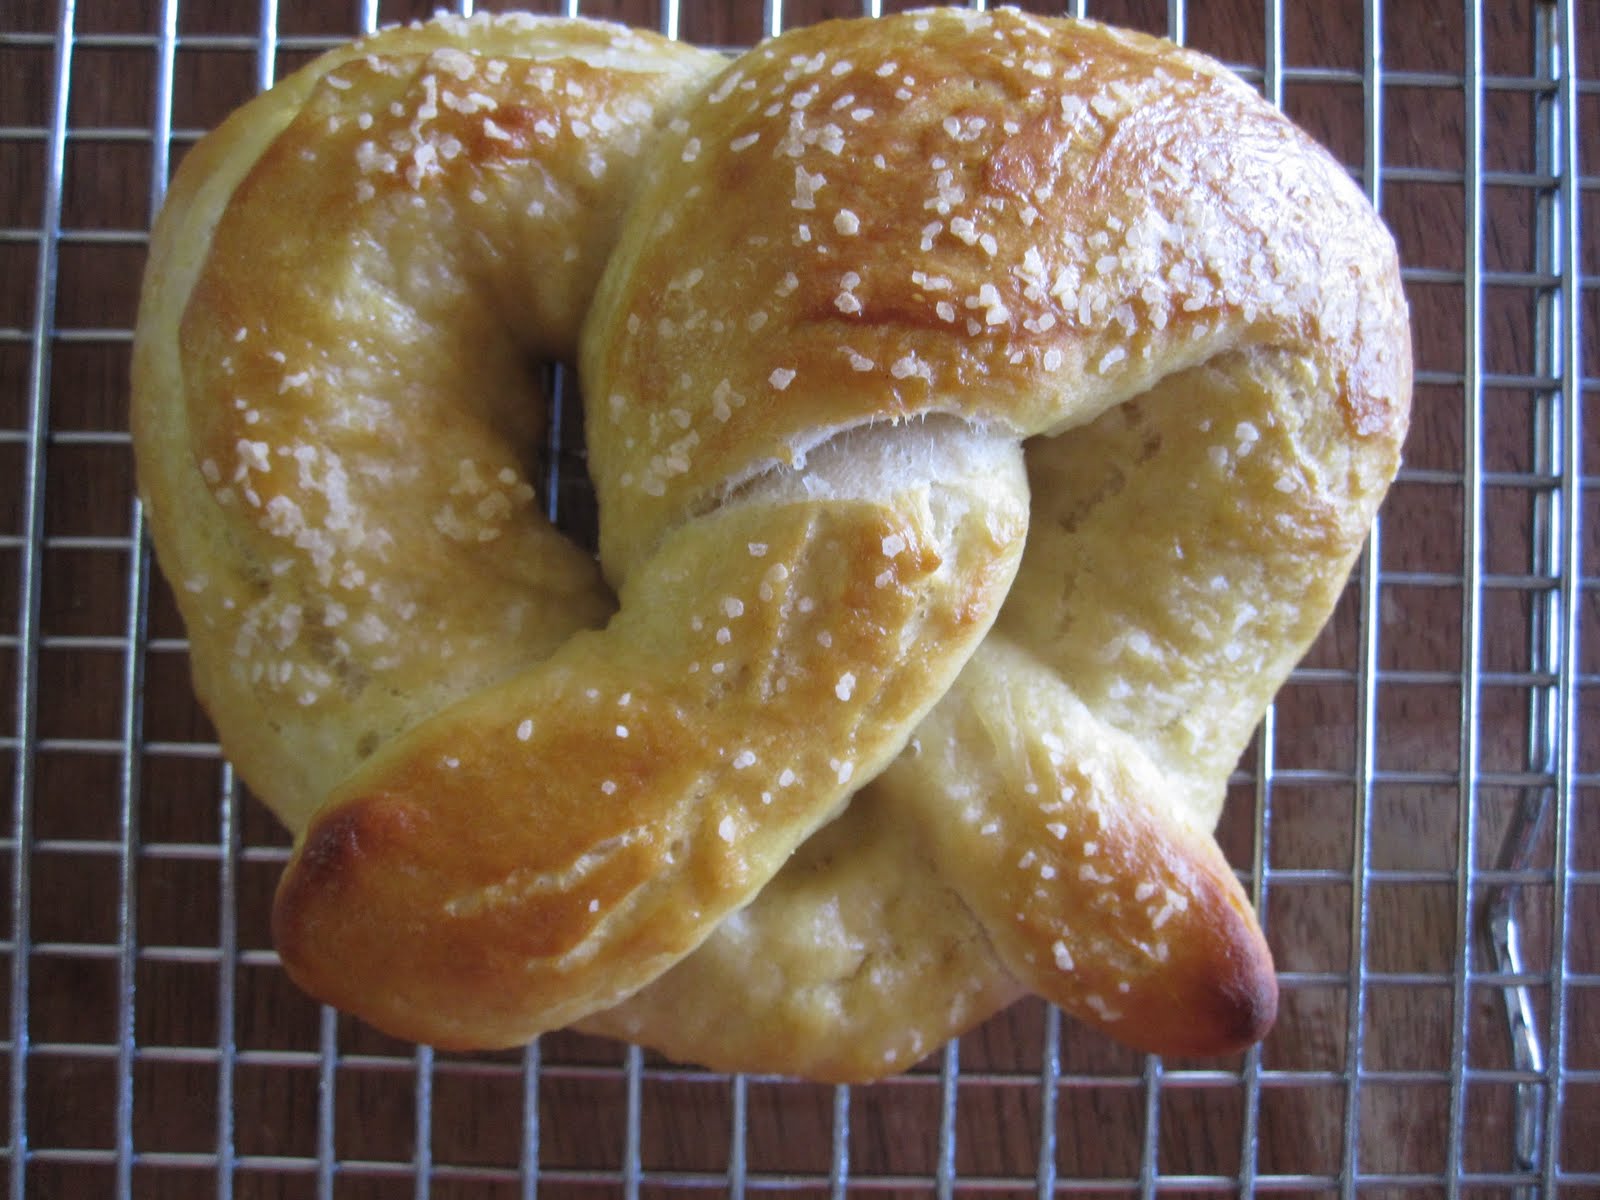
My boyfriend wants me to make some kind of gooey, cheesy dipping sauce for them, but I think they are delicious just the way they are. Fresh out of the oven. This recipe makes a total of eight pretzels, and their shelf life is about a week.
Pretzels
(Recipe from Alton Brown)
Ingredients:
1 ½ cups warm water ( 110 to 115F)
1 tablespoon sugar
2 teaspoons kosher salt
1 package active dry yeast
22 ounces all-purpose flour, approximately 4 ½ cups
2 ounces unsalted butter, melted
Vegetable oil
10 cups water
2/3 cup baking soda
1 large egg yolk beaten with 1 tablespoon water
Pretzel salt (kosher salt)
Directions:
Combine water, sugar, and kosher salt in the bowl for your mixer. Sprinkle the yeast over top of it; let is sit for 5 minutes (the mixture should begin to get foamy).
Then add the flour and melted butter. Using a dough hook mix the ingredients together at a low speed until it is well combined. Then increase your speed to medium and knead for about 5 minutes. The dough should be smooth, and it should pull away from the side of the bowl.
Oil a bowl, place the dough inside of it, cover with plastic wrap, and let is sit in a warm place for 50 – 55 minutes*
Preheat the oven to 45F. Line two baking sheets with parchment paper and oil.
Now it’s time to make the baking soda jacuzzi. Bring 10 cups of water and the baking soda to a boil in a roasting pan.
While the jacuzzi is getting hot it’s time to make the pretzels. Divide the dough into eight pieces.
Roll each piece into a 24inch rope. Then, make a U shape with your rope. Next, take the ends of the pretzel, cross them, and then place them under the U shape. You should have something that looks like a pretzel.
Place pretzels in baking soda jacuzzi for 30 seconds. Then place them on your lined and oiled baking sheets. Brush the top of the pretzels with the egg wash, and then sprinkle with salt. Bake for 12-14 minutes.
Move them to a cooling rack, and let the pretzels sit for 5 minutes. Then enjoy eating your pretzels with a cute boy.
* I always let my dough rise in the oven with a bowl of hot water place directly underneath it. It works every time.
Wednesday, April 28, 2010
Guest Post: Pierogi
Hey guys! I thought it would be fun to start having one guest post a month from my friends and family members - that way you guys don't get bored with my ridiculous posts where I just ramble on with my life! The first guest post is by my friend Kate. Enjoy!
I would never consider myself a great cook, baker, or writer, so when Samantha asked me if I wanted to do a guest post here, I was filled with mixed emotions. What if nobody liked what I cooked? What if I ended up ruining the dish I made? Considering I only really started experimenting with baking about two years ago, I realized that I needed something that would make me at ease.
Growing up, my Buscia (Polish for grandma) would cook pierogi on special occasions (for those of you who have never heard of pierogi, think of a hybrid between ravioli and potato dumplings). For my Buscia, cooking pierogi was always a labor of love; something that would take an afternoon in the kitchen, hand rolling and stuffing little dough envelopes. She would usually make them for Sunday dinners, where her children, grandchildren, and great-grandchildren would gather for a big home cooked meal.
These pierogi embody comfort food, both in their heartiness and the fact that they require an act of love to make for someone (they do take a bit of time to make and assemble). If making for a family dinner, feel free to make the dough ahead of time and refrigerate until you are ready to stuff them. Although pierogi can be stuffed with a multitude of fillings, I prefer the traditional blend of cheese, potatoes, and onions. I also recommend serving with sour cream or (my favorite) cream cheese.
While these pierogi can in no way compare to my Buscia’s, they are still delicious. I recommend cooking up a batch of these for someone you love, whether it is your spouse, friend, or family. I even made a few without onions for our three pups. (They gobbled them up so quickly I could barely get a picture of them!)
Homemade Pittsburgh Pierogies with Sour Cream
(Recipe courtesy Columbus Foodie)
Ingredients:
2 cups flour, plus extra for kneading and rolling dough
1/2 teaspoon salt
1 large egg
1/2 cup sour cream, plus extra to serve with the pierogi
1/4 cup butter, softened and cut into small pieces
butter and onions for sautéing
ingredients for filling of your choice (potato & cheese filling recipe below)
Preparation:
Pierogi Dough
To prepare the pierogi dough, mix together the flour and salt. Beat the egg, and then add all at once to the flour mixture. Add the 1/2 cup sour cream and the softened butter pieces and work until the dough loses most of its stickiness (about 5-7 minutes). You can use a food processor with a dough hook for this, but be careful not to overbeat. Wrap the dough in plastic and refrigerate for 20-30 minutes or overnight; the dough can be kept in the refrigerator for up to 2 days.
Prepare the Pierogies
Roll the pierogi dough on a floured board or countertop until 1/8″ thick. Cut circles of dough (2″ for small pierogies and 3-3 1/2″ for large pierogies) with a cookie cutter or drinking glass. Place a small ball of filling (about a tablespoon) on each dough round and fold the dough over, forming a semi-circle. Press the edges together with the tines of a fork.
Boil the pierogies a few at a time in a large pot of water. They are done when they float to the top (about 8-10 minutes). Rinse in cool water and let dry. Sauté chopped onions in butter in a large pan until onions are soft. Then add pierogies and pan fry until lightly crispy. Serve with a side of sour cream for a true Pittsburgh pierogi meal.
Homemade Pierogi Tips:
If you are having a hard time getting the edges to stick together, you may have too much flour in the dough. Add a little water to help get a good seal.
If you don’t want to cook all of the pierogies right away, you can refrigerate them (uncooked) for several days or freeze them for up to several months.
You can fill pierogies with pretty much anything you want, though potato and cheese is the most common (recipe below). Sweet pierogies are often filled with a prune mixture.
Potato, Cheese & Onion Filling:
Peel and boil 5 lbs of potatoes until soft. Red potatoes are especially good for this. While the potatoes are boiling, finely chop 1 large onion and sauté in butter until soft and translucent. Mash the potatoes with the sautéed onions and 8oz of grated cheddar cheese, adding salt and pepper to taste. You can also add some fresh parsley, bacon bits, or other enhancements if you desire. Let the potato mixture cool and then form into 1″ balls.
Subscribe to:
Posts (Atom)